Disclaimer
The writer of this article cannot be held responsible for for any form of damages that may result from the use of the information in this article. By reading this article, the user is effectively in agreement that the writer is completely exempt from any liability. If you do not agree, then do not read this article!
Note: Please check your product warranty and terms and conditions, when attempting to upgrade the ram of any equipment as it may void your warranty.
The following are steps in how I upgraded the ram of a QNAP TS-451A Turbo NAS. There may be the same NAS models out there that differ internally or in construction so these instructions are only specific to the exact unit I received.
I do not recommend any person upgrading the ram themselves unless they are a qualified and authorised technician, and to those that decide to, then do it at your own risk!
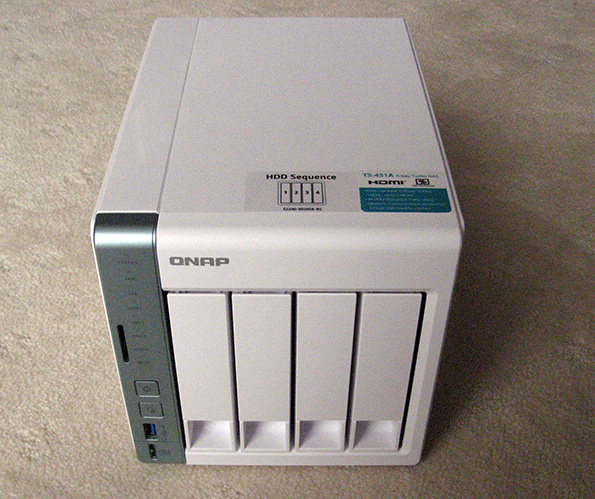
Before disassembling your QNAP NAS, you should first purchase the appropriate ram compatible with your unit. With research, you may discover that QNAP propriety ram is not necessary when upgrading your NAS memory.
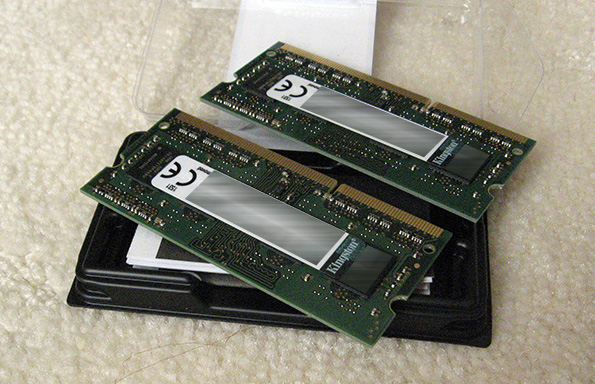
I am using 2 X Kingston 4gb DDR3L 1600MHz PC3L 12800 ram which has worked flawlessly so far at the time of this article. If deciding on using Kingston memory, then check to make sure that they are genuine ram, as mine are since they have a proper hologram issued for this model.
Remove all the bays from the unit and ensure you mark the order to which they were original installed if you already have hard drives installed and your NAS system setup. This way, you can insert them back in the same order without affecting your original setup.
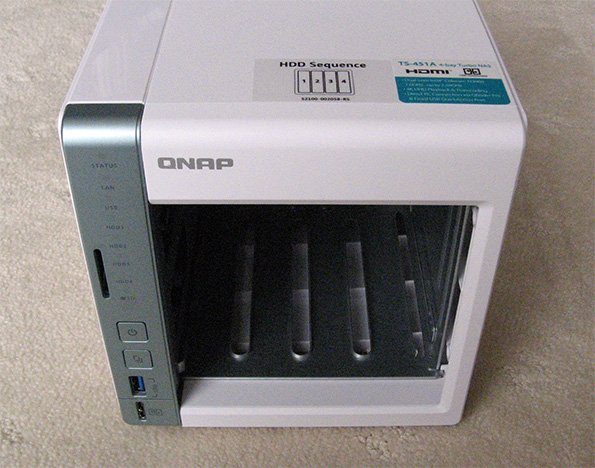
Remove the screws at the rear of the unit that secures the top cover to the metal frame of the unit.
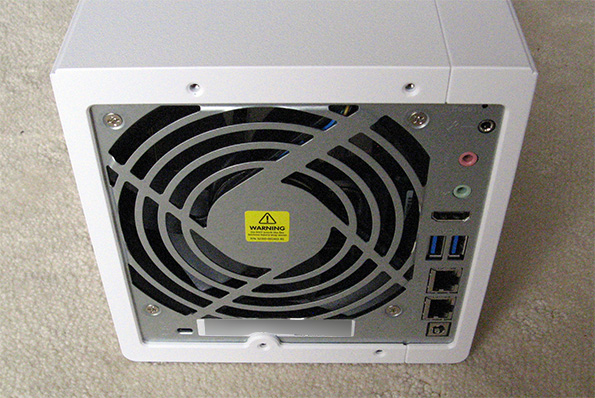
Create a diagram on paper indicating where screws are located and stick each screw you remove onto the diagram to remind you of where the screws came from. This will ensure during re-assembly that you have attached the appropriate screws at it’s original location on the NAS.
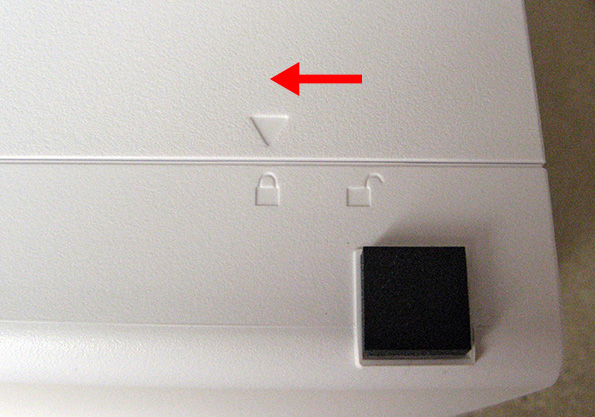
Slide the top cover to the unlock position as shown by the marking on the case.
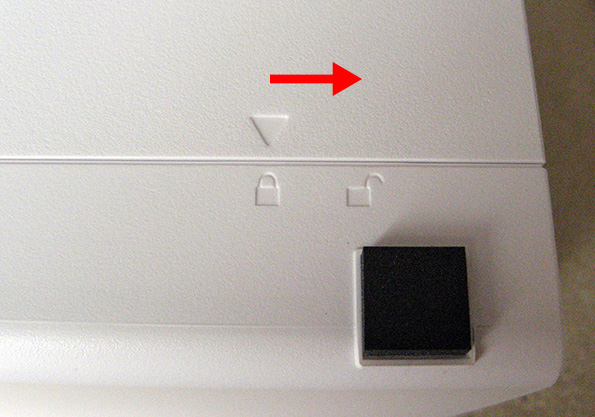
Carefully lift the top cover away from the internal metal frame of the unit
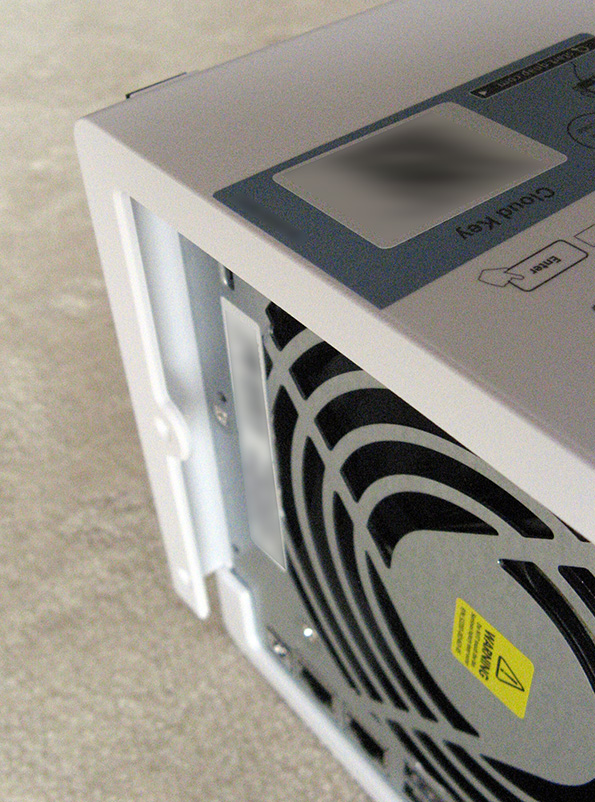
Store the top cover away from the NAS as you work on removing the metal bay frame from main unit to access the ram slots for the upgrade.
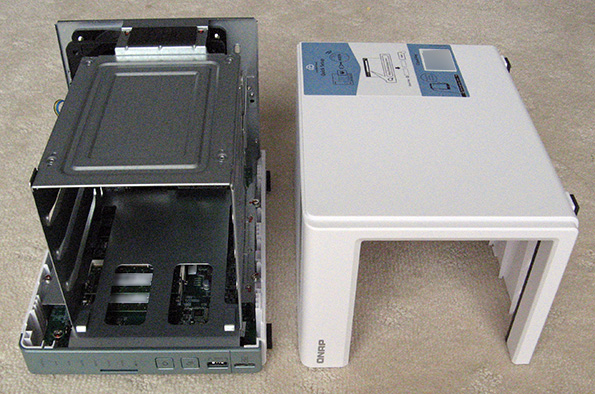
Attach an anti-static strap to your bare wrist and metal part of the NAS frame to prevent static from damaging the electrical components of the NAS when handling it during this upgrade. Alternatively, you could touch a metal frame that is grounded, that may remove any static on you before you continue working on the NAS.
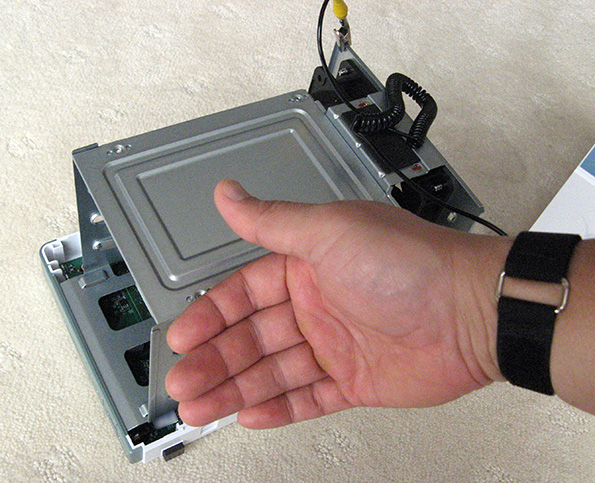
Remove the screws that holds the bay frame to the bottom and rear frame of the unit.
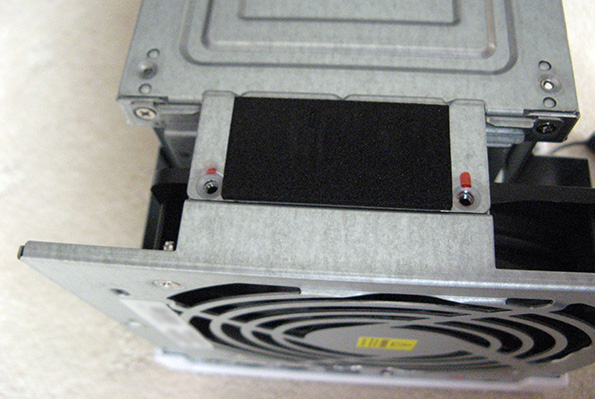
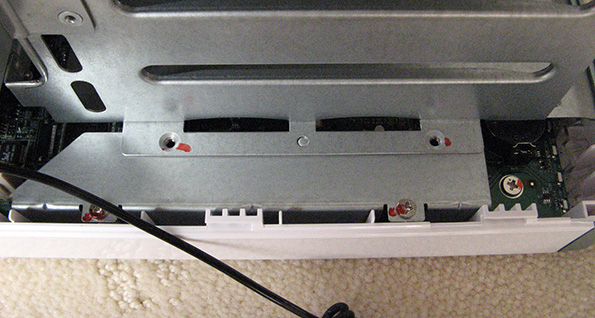
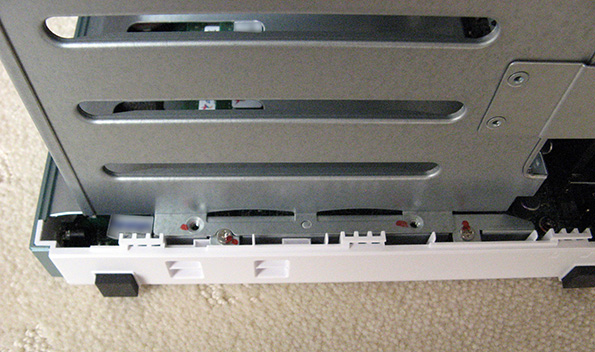
Before removing the bay frame from the unit, take note that the bay frame has a plug that is connected to the bottom frame circuit board socket.
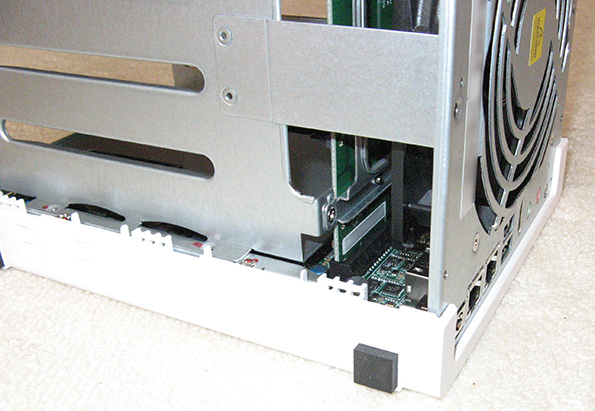
Carefully lift the bay frame away from the bottom frame with consideration to this connection.
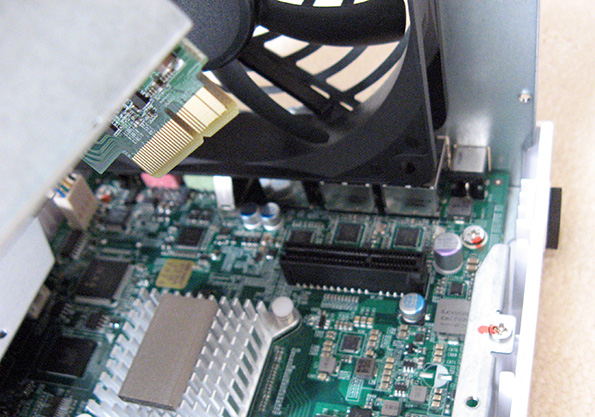
Once the bay frame is removed from the bottom frame, the ram slots should be clearly visible. The model I have, seems to be an updated version of the 451A as I have seen some earlier versions that do not have this sort of construction where the ram is much more easily accessible.
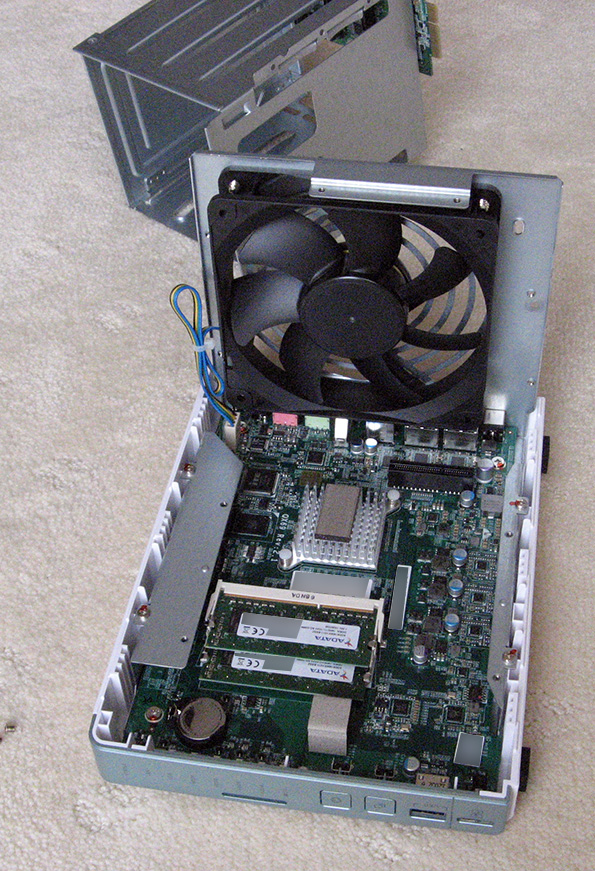
There are two ram slots and each ram overlap each other so that the top ram needs to be removed in order to remove the bottom ram. Ram should be upgraded in pairs and for this upgrade, I am using a matched pair of 4gb ram to expand my unit to 8gb, from its original 2gb(2 X 1gb ram).
Carefully remove the top ram first by pulling the side clips on each side of the ram that is holding it into place and then carefully lifting it up slightly at the ram’s top edge and then pulling the ram out.
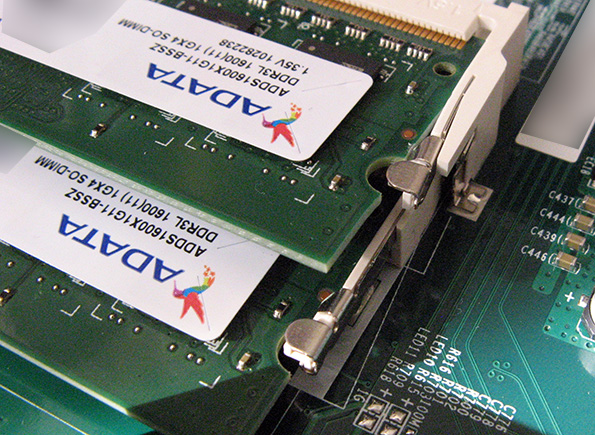
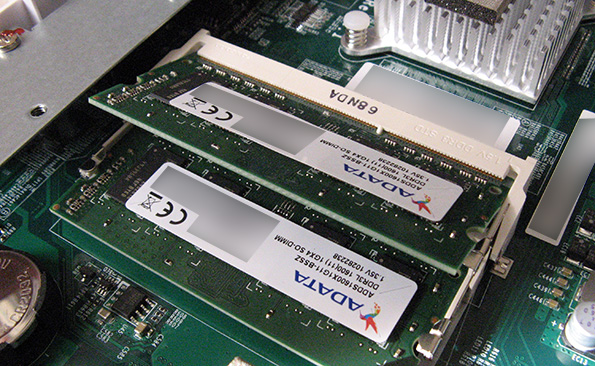
Apply the same procedure to the bottom ram and ensure you touch only the sides of the ram and not the body, contacts or pins to prevent possibly damaging them.
Once you have removed the ram, carefully install the upgraded rams in the ram slots with the bottom ram first and the top ram last.
Identify the location of the female notch at the contact pin ends of the ram to match the location of the male notch of the ram slot. This notch prevents inserting the ram incorrectly into the ram slot.
Once you have figured out the alignment of the notch, insert the new ram into the ram slot with the male and female notch aligned and press down until the side clips lock into place on the side of the ram module.
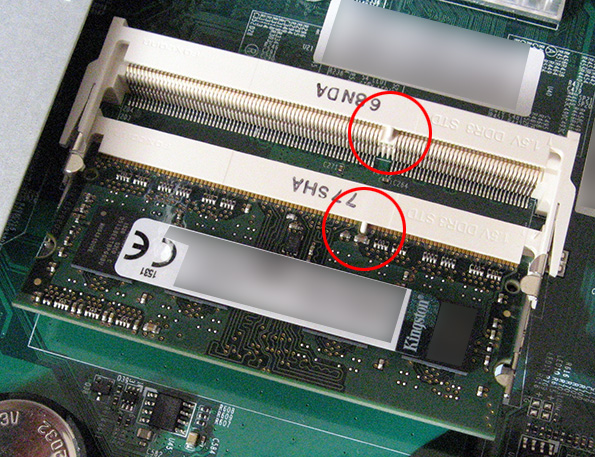
Ensure that the side clips have properly locked the ram module into place.
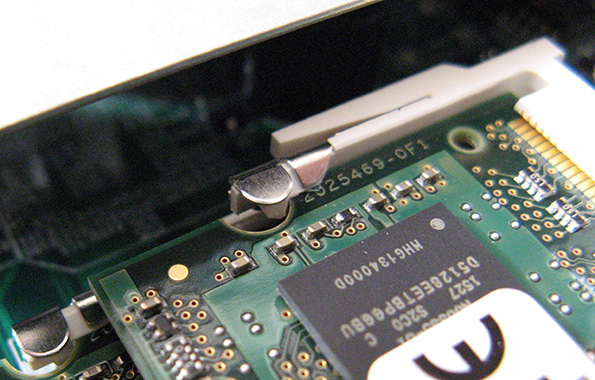
Once both replacement ram modules have been installed, carefully align the bay frame plug with the bottom frame circuit board socket and insert the bay frame into place with the bottom frame.
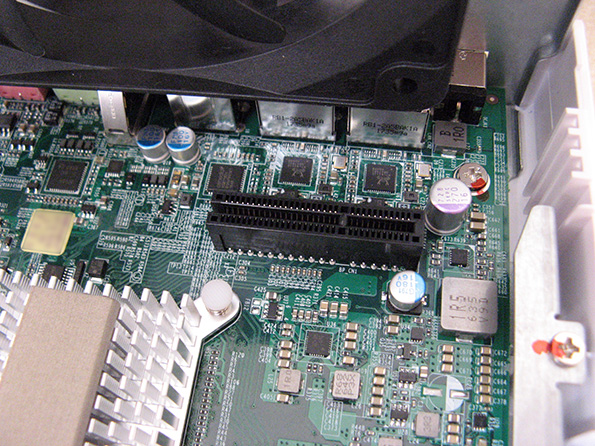
Secure the bay frame using the original screws taking note of which screws go to which location to ensure that the markings line up as originally.
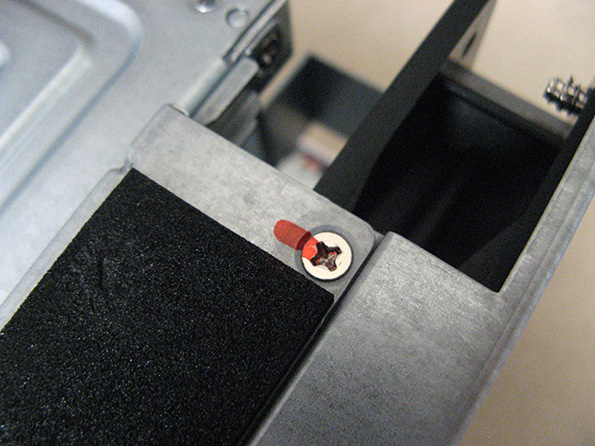
Slide the top cover into place so that the case marking is at the lock position.
Install the bays in the original order if you have had previous hard drives installed.

Check to make sure you have completed the re-assembly procedure properly before plugging it into a power point and turning it on for testing.
Turn on the QNAP NAS and check your memory properties using the QNAP software and it should reflect the size of the new ram you have installed.
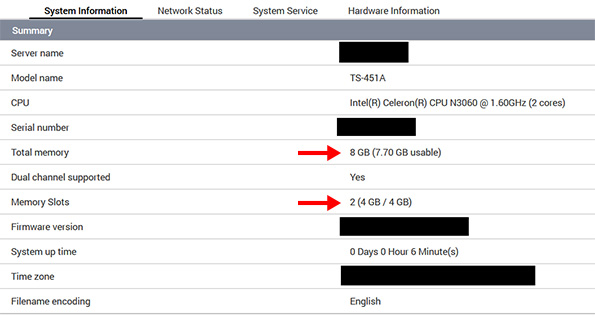
If your QNAP NAS software does not show an increase of ram, then there could be an error somewhere with your installation, you may have damaged your unit or there could be a compatibility issue with the ram used.


Feedback
*To embed code in Feedback, insert code between "pre" tags.