Disclaimer
The writer of this article cannot be held responsible for for any form of damages that may result from the use of the information in this article. By reading this article, the user is effectively in agreement that the writer is completely exempt from any liability. If you do not agree, then do not read this article!
Introduction
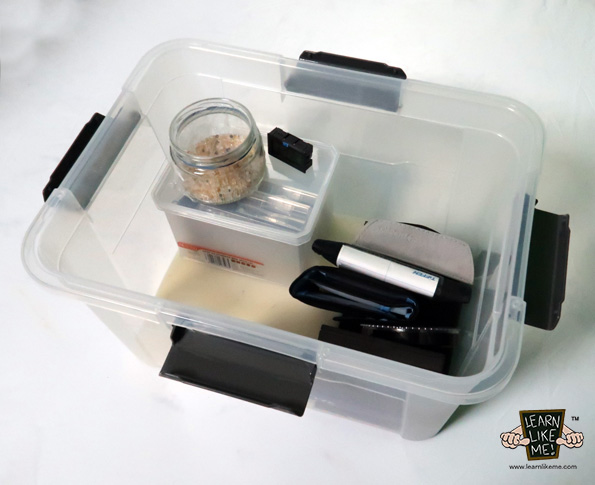
For those people who are concerned about damaging their expensive camera gear due to humidity, here is a Do It Yourself build that will allow you to make a Dry Box at a cheap price.
Parts List
- Ezy Storage Weathertight Container 18 litre, Sealed Plastic Storage Container – $13.98 AUD (Officeworks)
- Silica Gels from products collected over time or you may purchase it on Ebay or at a hardware store such as Bunnings.
- Cling Wrap (Supermarkets such as Coles, Woolworths)
- Glass container such as used Salsa dip container (Supermarkets such as Coles, Woolworths)
- Mini Humidity Reader – $1.91 AUD (AliExpress)
- Foam for bottom floor padding of the dry box – $4.50 Yoga mat at Kmart.
- Kitchen Fork for piercing holes on the cling wrap.
- Scissor for cutting out foam.
Optional for mounting Humidity Reader to the Dry Box
- Silicon Sealant – Hardware store such as Bunnings
- Epoxy Glue – Hardware store such as Bunnings
- Wired Carved U-shape saw – Hardware store such as Bunnings
Note
These parts are just recommendations that can help you form the basis of creating your own DIY Dry Box for storing your camera equipment in a dry environment and prevent or minimise rust, mould, fungus or moisture from damaging your equipment.
I have found this dry box to be effective at reducing moisture. I mainly use it to store filters as I am not concerned about having a strict humidity-controlled environment where I need it to sit between a specific range. With a one eight (1/8) filled of silica gels in a glass container, I am getting approximately 35%-45% relative humidity on the reader after a few nights of storage enclosed which is sufficient for my use. I have used larger mini dehumidifiers sold on Ebay which have the-same concept of using silica gels but in a larger container and an inbuilt heater to reset the silica gels, and found I average 20% after a few nights of the storage enclosed when using these devices.
My concern at those types of low humidity readings is over drying the camera equipment. When I use mini dehumidifiers in my Dry Box, I only store lens filters which do not use lubricant such as UV, ND, Close Up and Mist Filters, Wide Angle Converters, etc. Circular Polarisers and Variable ND filters which feels like they have some form of lubricant to allow for smoothness when turning, I store in a Humidity Controlled Dry Cabinet set at 45% Relative Humidity.
I have noticed that the larger the glass container and the more silica gels I use, the quicker it takes to lower the humidity in the DIY Dry Box. I am also able to get much lower RH results.
Instructions
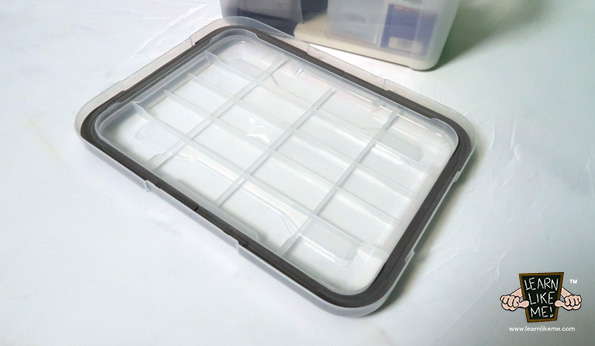
Ezy Storage Weathertight Container 18 litre
Dry Box container
- Use a container that is sealed to help prevent or reduce moisture from getting into the container and keep the box dry.
- Cut out some foam to the same size as the internal bottom of the container. Place it inside the bottom of the container. This will add grip to any items you place to the floor of the container so that it minimises movement.
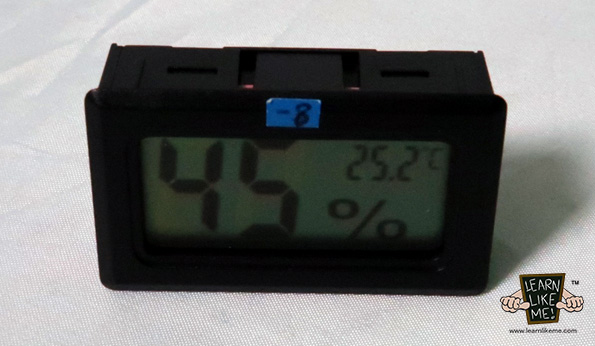
Mini Humidity Reader
Humidity Reader
- It is not necessary to mount the Humidity Reader on the container and you can just place it anywhere visible inside the box.
- Check the accuracy of the cheap reader you have purchased. If possible, see if you can compare it with another reader and make note of how much it is off by and mark it on the reader to remind you.
Mounting Humidity Reader to the cover or side of the container – Optional
- Trace the shape of the Humidity Reader to the area of the container you would like to mount the reader to.
- Cut the shape out using the Wired Carved U-shape saw.
- Glue the Humidity Reader to the hole you have created on the plastic container.
- Once dry, use Silicon Sealant, to seal the perimeter of where the Humidity Reader and container is attached. Do this from the inside of the container, to give the Dry Box a cleaner look.
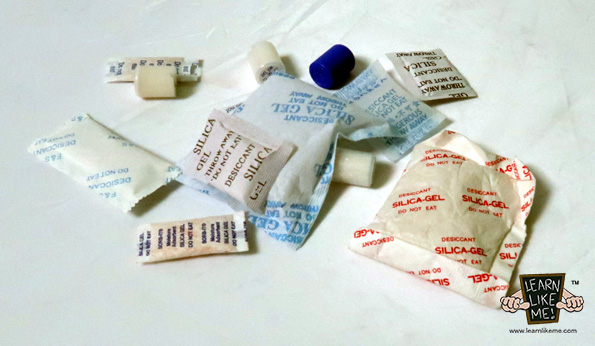
Old Silica Gels satchels collected over time
Silica Gels Container
- The purpose of the glass container filled with Silica Gels is to dehumidify the Dry Box.
- Use a glass container, as it will make it easy to dry reset the Silica Gels.
- Remove any stickers and wash the Glass Container clean.
- Open all your Silica Gels satchels that you might have gathered from all the products you have purchased over time. Alternatively, you can buy new Silica Gels online or at a hardware store.
- It is best to dry reset the Silica Gels before using it. Please refer to instructions Resetting or drying the Silica Gels.
- Place all the Silica Gels in the glass container.
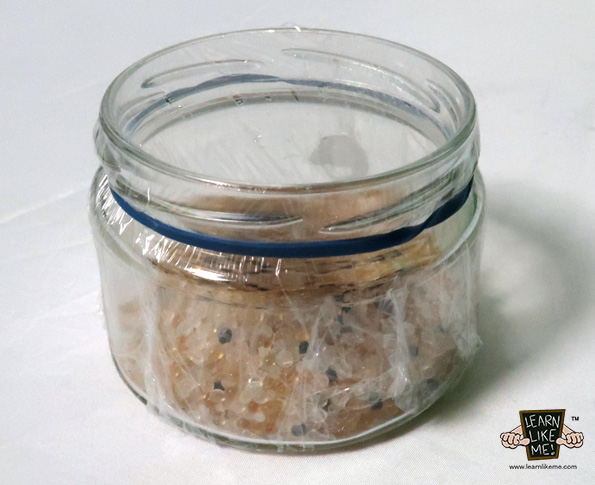
- Wrap cling wrap around the top of the glass container to seal it tightly and use rubber band to secure it in place.
- Using a fork, place holes on the cling wrap to allow moisture to go through to be absorbed by the Silica Gels.
- Place the glass container inside the DIY Dry Box.
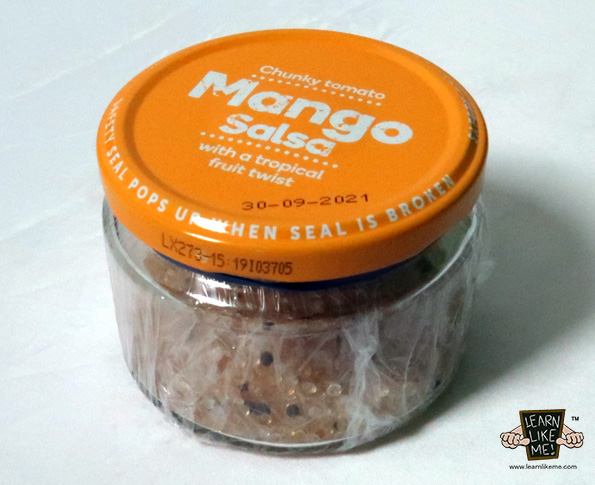
- You can screw the top lid of the glass container on, when you are not using the Dry Box.
Resetting or drying the Silica Gels
- The reason why I chose a glass container to fill with Silica Gels, is that you can place it in the oven once the Silica Gels are filled with moisture and needs to be dried reset.
- Turn the oven on at a relatively warm temperature – 120 degrees.
- Remove the cling wrap and rubber band from the Silica Gel Glass container and place it in the oven.
- Leave it in there for several hours or until the Silica Gels resets to a dry color. For some Silica Gels it might be pink, blue, transparent, etc. Please ensure you regularly monitor the oven incase of possible issues arising.
- Once the Silica Gels are dry, remove from the oven, place the lid of the glass container on top but do not screw it on. Let it cool down until it is safe to apply the cling wrap on top.
- Wrap new cling wrap around the top of the glass container to seal it tightly and use rubber band to secure it in place.
- Using a fork, place holes on the cling wrap to allow moisture to go through to be absorbed by the Silica Gels.
- Place the glass container inside the DIY Dry Box.
Conclusion
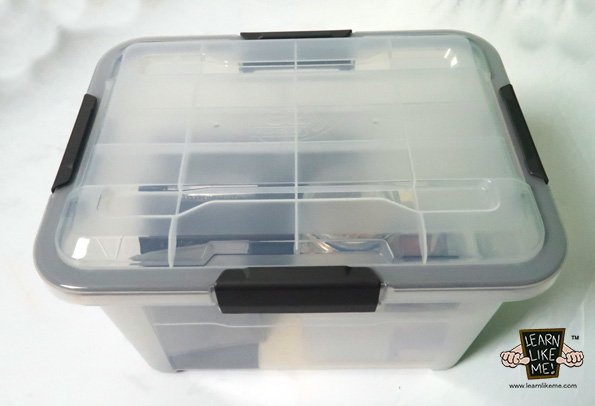
You have now completed building your own DIY Dry Box that is cheap and portable that should keep your camera equipment dry when storing. For larger storage, use a larger sealed container for the main box and a larger glass container for the Silica Gels. Alternatively, you could purchase the Mini de-humidifiers which covers a larger storage space and has the ability to dry reset the Silica Gels by plugging it in to a power source.


Feedback
*To embed code in Feedback, insert code between "pre" tags.