Disclaimer:
The writer of this article cannot be held responsible for for any form of damages that may result from the use of the information in this article. By reading this article, the user is effectively in agreement that the writer is completely exempt from any liability. If you do not agree, then do not read this article!
:: Go to In use and comparison video samples
:: Go to Pros, Cons and Conclusion
Introduction
I originally thought that shoulder rigs were not necessary until I started using my Canon 5D Mark III to shoot videos. I started to encounter issues that I never had when using video cameras such as;
- shaky recorded footage that can be irritating when viewing,
- short handheld recording durations due to sore shoulders and arms from holding the camera uncomfortably when shooting,
- and running out of reasonable places to attach my camera accessories to such as a 7 inch external monitor, audio recorder and portable led light.
The problem I had with buying a shoulder rig was that they were expensive and it was another piece of gear I would have to carry with me if I decided to use one for a shoot. I researched online for a possible cheap DIY shoulder rig that I could build but I could not find one that would solve the issue I had with having to carry another extra piece of gear.
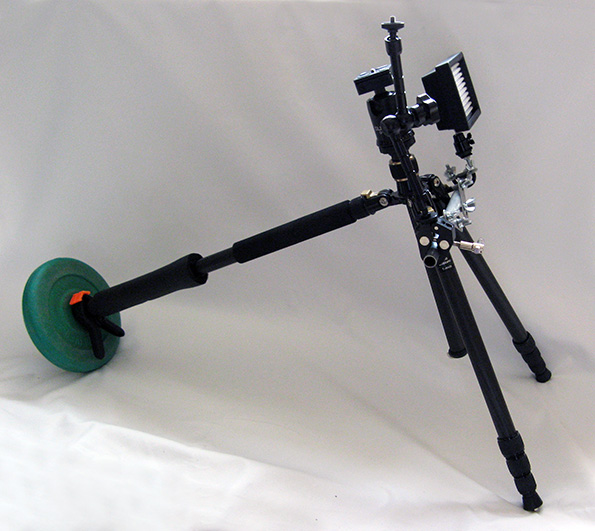
I found the solution to my problem while I was at a forest one day taking low angle photos with my camera on a travel tripod. I noticed that my tripod looked sort of similar in shape to a shoulder rig when one of the tripod legs were spread out. I decided to do some test video footage with the tripod as a make-shift shoulder rig and noticed some improvements in the shots as compared to my handheld shots for both standing still and moving. This is when I decided to improve on this make-shift tripod shoulder rig and design something that would enable me to convert my tripod to a more stable and comfortable make-shift shoulder rig with only a few pieces of additional items.

Tripod Shoulder Rig assembled.

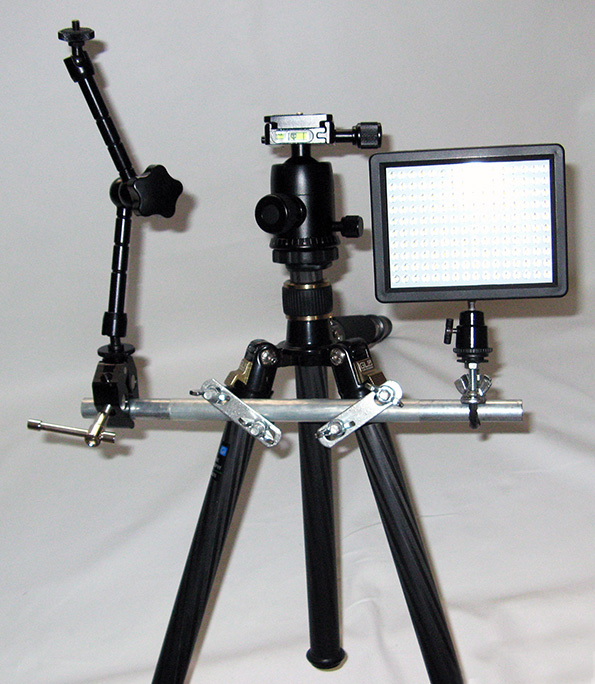
Front of Tripod Shoulder Rig with camera accessories attached to the crossbar pole.

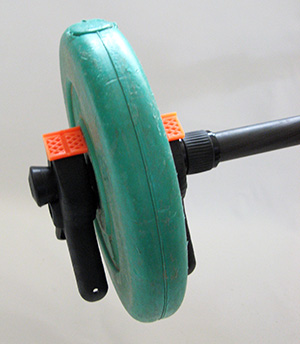
Counterweight locked into position using Spring Clamps.

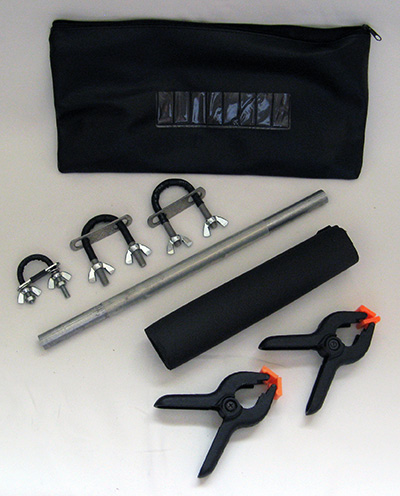
Minimal Tripod Shoulder Rig kit.
Minimal parts needed to convert my tripod into a shoulder rig. Gym weight is optional since a bag filled with items can be used to hang at the end of the tripod leg as a counterweight.
:: Go to In use and comparison video samples
:: Go to Pros, Cons and Conclusion


Feedback
*To embed code in Feedback, insert code between "pre" tags.