Disclaimer
The writer of this article cannot be held responsible for for any form of damages that may result from the use of the information in this article. By reading this article, the user is effectively in agreement that the writer is completely exempt from any liability. If you do not agree, then do not read this article!
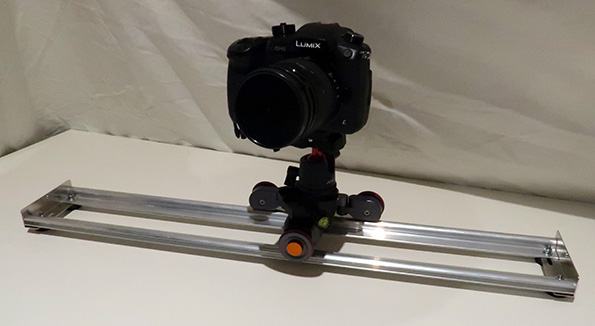
The Motorized Dolly or Auto Dolly sold under many brand names such as Yelangu, Andoer and the Generic no name brands, are a great portable tool that can allow film makers to add smooth movement to their shots. They are well built, mostly made of metal and it includes a remote that allows for hand less control of the unit. This is very useful especially if you do not have much distance to work with and you want to avoid using your recording time for the initial set up and start-up of the Motorised Dolly. The unit is a little heavy for its size which can be a negative when trying to reduce carry-on weight on your backpack for travel.
In order to get the best shots, the Auto Dolly must be used on a smooth surface which can include tables and some floors. I have found that the version 2 of this Autodolly that I have, exhibits at times some slight inconsistencies in its motion, as though the motor is not running consistently smooth at the designated speed I have set. This is obvious based on the sound the motor makes as it runs. For the most part, the shots are acceptable, though consistencies need to be considered especially on some angles or surface the Auto Dolly is used on.
One of the challenges when using the Auto Dolly is finding a smooth surface to use this on, especially if using it at an uncommon height like anything other than table or floor height. It can also be a challenge when using this outdoors, away from the city or suburb where smooth surfaces is uncommon such as parks, forests, beaches, etc.
Due to this challenge, I decided to build a cheap, lightweight Auto Dolly Travel Platform that I can carry with me when I travel. I needed something more than just a piece of wood or Perspex plastic cut out, even though it would be easier to make but I felt would be susceptible to warping, rain and damage. I wanted to make something from aluminium that would take up minimal space, that is lightweight and can be dismantled if required.
After a few days of research on possible designs and materials, I have come up with the following design which is similar to a camera slider but cheaper, lighter and made to the size I require. I initially considered those portable 40cms, 50cms, 60cms camera sliders, but the distance between the rods were too short to allow the Auto dolly to mount. The Auto Dolly requires the full-size camera sliders which is generally 80cms and above in length and the distance between the rods are 8cms from the inner perimeter edges.
Here is a video demonstrating the Auto Dolly Platform in use.
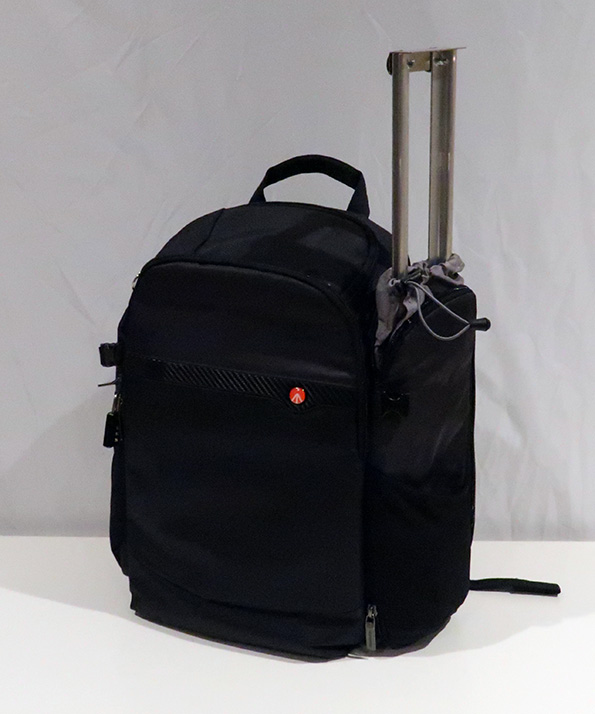
This portable Auto Dolly platform I made is 60cms in length, which gives me approximately 40cms of travel and is very light, weighting only at 352 grams. It can fit in my Manfrotto Befree Advanced Camera Backpack V2 side pocket and it can be dismantled if required.
Here is an outline of the parts needed to build this unit with only the cost of the Aluminium Sail Tracks listed as it was the only part I purchased. The majority of the parts were bits and pieces I had lying around at home.
I would estimate that this requires less than an hour to build this once you have the parts needed and a guide on how to build it.
Parts List
- Bolts X 4,
- Nuts X 4 (lock nuts preferred),
- Washers X 4,
- Spring Washers X 4 (this should help prevent the nuts from looseing)
- 3.5 inch Metal Hard Drive mount set (2) *
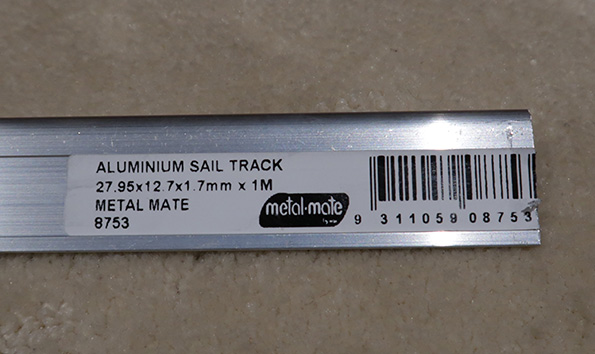
- Aluminium Sail Track 1 meter X 2 – $14.16 AUD
- Screw in Feet set (4)
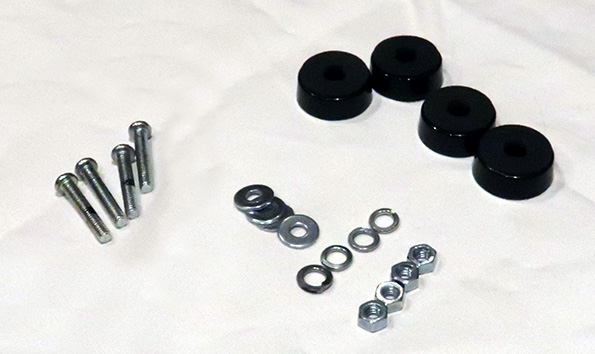
The bolts, washers, spring washers, nuts and feet needed.

Aluminium Sail Tracks
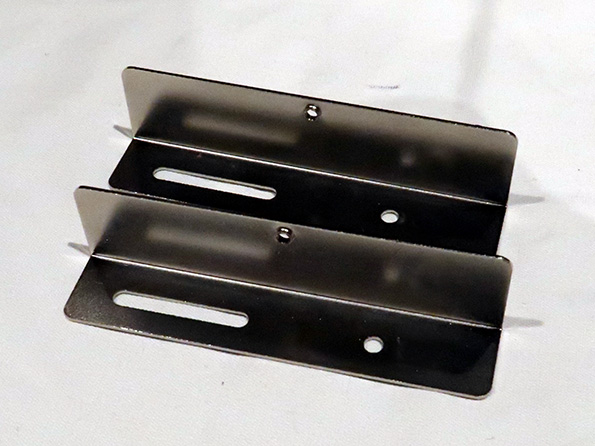
The 3.5 inch Metal Hard Drive Mount is what I think they are, as this was old computer parts I had lying around, but you could use an L type of Aluminium Equal Angle strip as an alternative and drill the holes accordingly. Check your local hardware store like Bunnings for possible substitutes if you cannot find the parts listed.
Tools needed
- Drill and drill bit with the same diameter as the bolts.
- Metal saw.
- Pencil.
- Screwdriver.
- Small wrench or pliers.
- Ruler.
Cut the Aluminium Sail Tracks using the metal saw to 60cms in length. Try to make a clean right angle cut so that it joins flat against the Hard Drive mount.
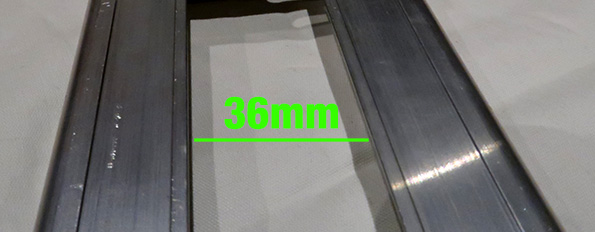
Line up the Sail Tracks with the Hard Drive mount so that it forms an L shape on each side. Your aim is to try and create a long rectangle frame using the two Sail Tracks and two Hard Drive Mounts. The distance for the gap between the two Sail Tracks is up to you, but I have found with the Hard Drive Mount I am using, that lining the Sail Tracks flush to the edge of the Hard Drive Mount as shown on the finished product, produced the best gap between the Sale Tracks for my Auto Dolly. This measured to be a 36mm gap approximately, as shown in the image below.
Drill the holes accordingly on both the Sail Tracks and the Hard Drive Mounts so that it can be attached together to form the rectangular frame. Make sure the holes are the correct size for the bolt you are using to assemble the unit.
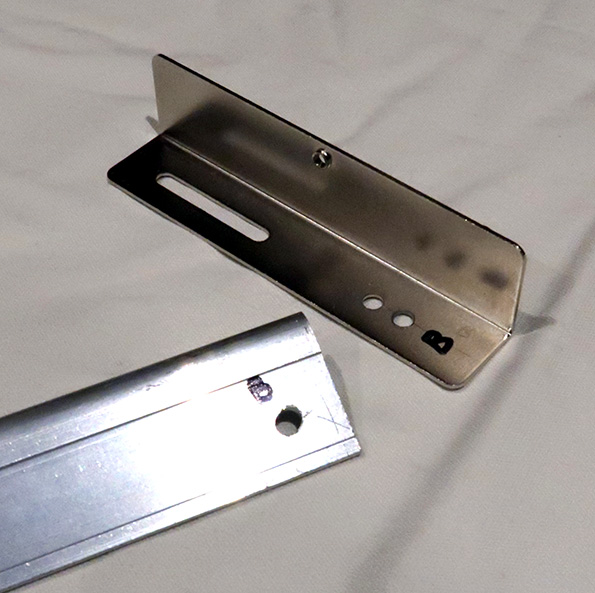
Mark the Sail Track with the corresponding side of the Hard Drive Mounts that you have drilled the hole for as I find making aligning holes matching the Sail Tracks difficult.
Depending on the feet you have, you may need to drill a bigger hole on the feet so that it fits the bolts you are using.
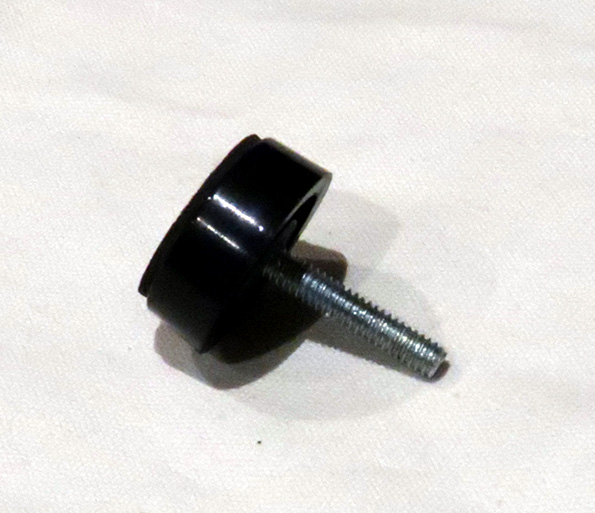
Attach the Feet, Sail Tracks and Hard Drive Mounts together using the bolts, washers, spring washers and nuts. Mark the bolts where you will cut it down to size so that it does not protrude too far.
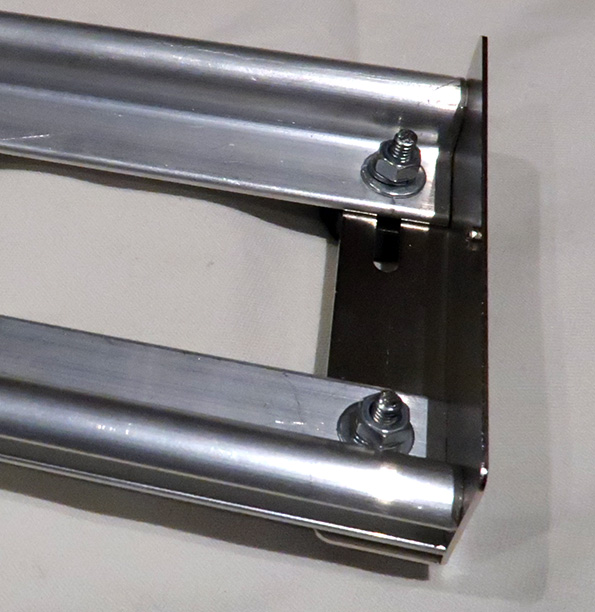
Once the bolts are cut, assemble the unit properly, tightening the nuts and bolts so that it will not loosen. You may use locking nuts if you have no plans of disassembling the unit on the go.
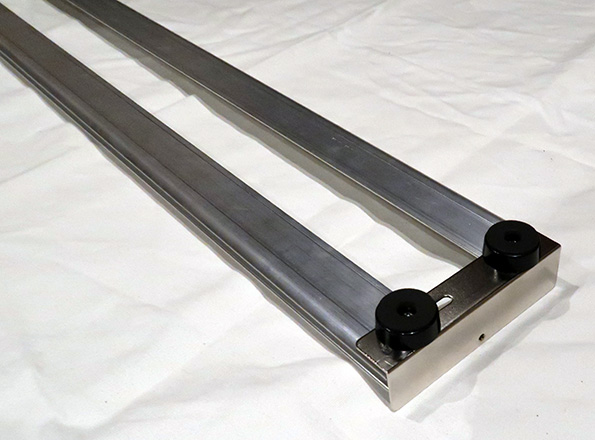
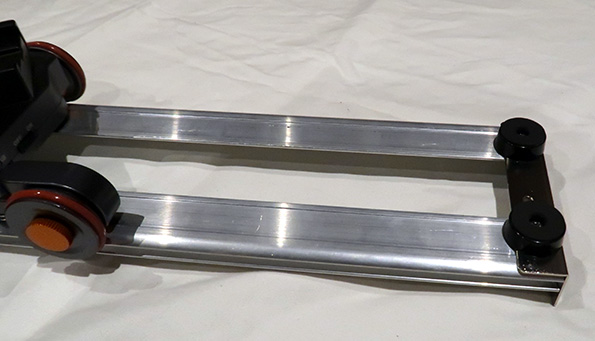
The Auto Dolly travel platform can be used on either the top or bottom side depending on the surface that you place it on. The feet and the Hard Drive Mount lips can be used as stoppers on either end for the Auto Dolly.
The top side of the Auto Dolly Platform.

The top side of the Auto Dolly Platform being used.
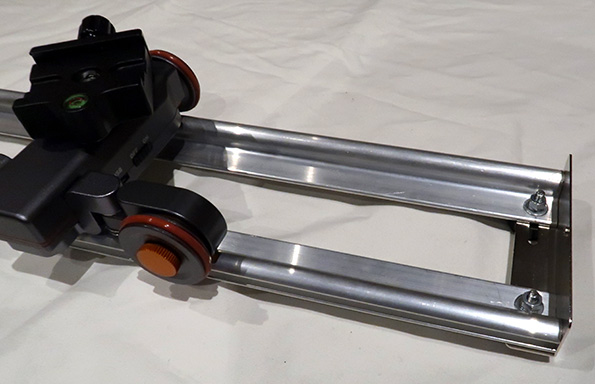
The bottom side of the Auto Dolly Platform.
The bottom side of the Auto Dolly Platform being used.
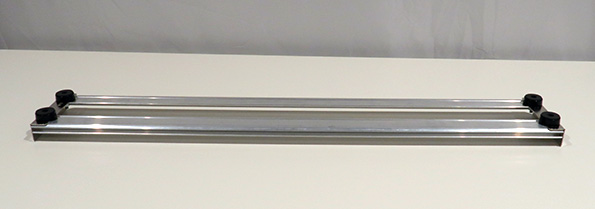
The Auto Dolly Travel Platform can be easily packed into a backpack for easy transport but be cautious of the height it adds to your bag as you can easily knock into things unaware of the added height created.
I may add in the future a center plate that will allow me to attach a tripod quick release plate to the Auto Dolly Platform so that I can mount this on a tripod but my initial idea for building this was for travel purpose where I wanted to go minimalist. I could always be creative and try to find any usable items that I could mount this on to give me more height. If I have to bring my tripod, then I may as well bring my 80cms motorized camera parabolic slider!


Feedback
*To embed code in Feedback, insert code between "pre" tags.